Privacy
Update a Tails USB Without Losing Wallet Files
Back up Tails Persistent Storage, choose an upgrade that preserves it, check your wallet files afterward, and avoid destructive reinstall options.

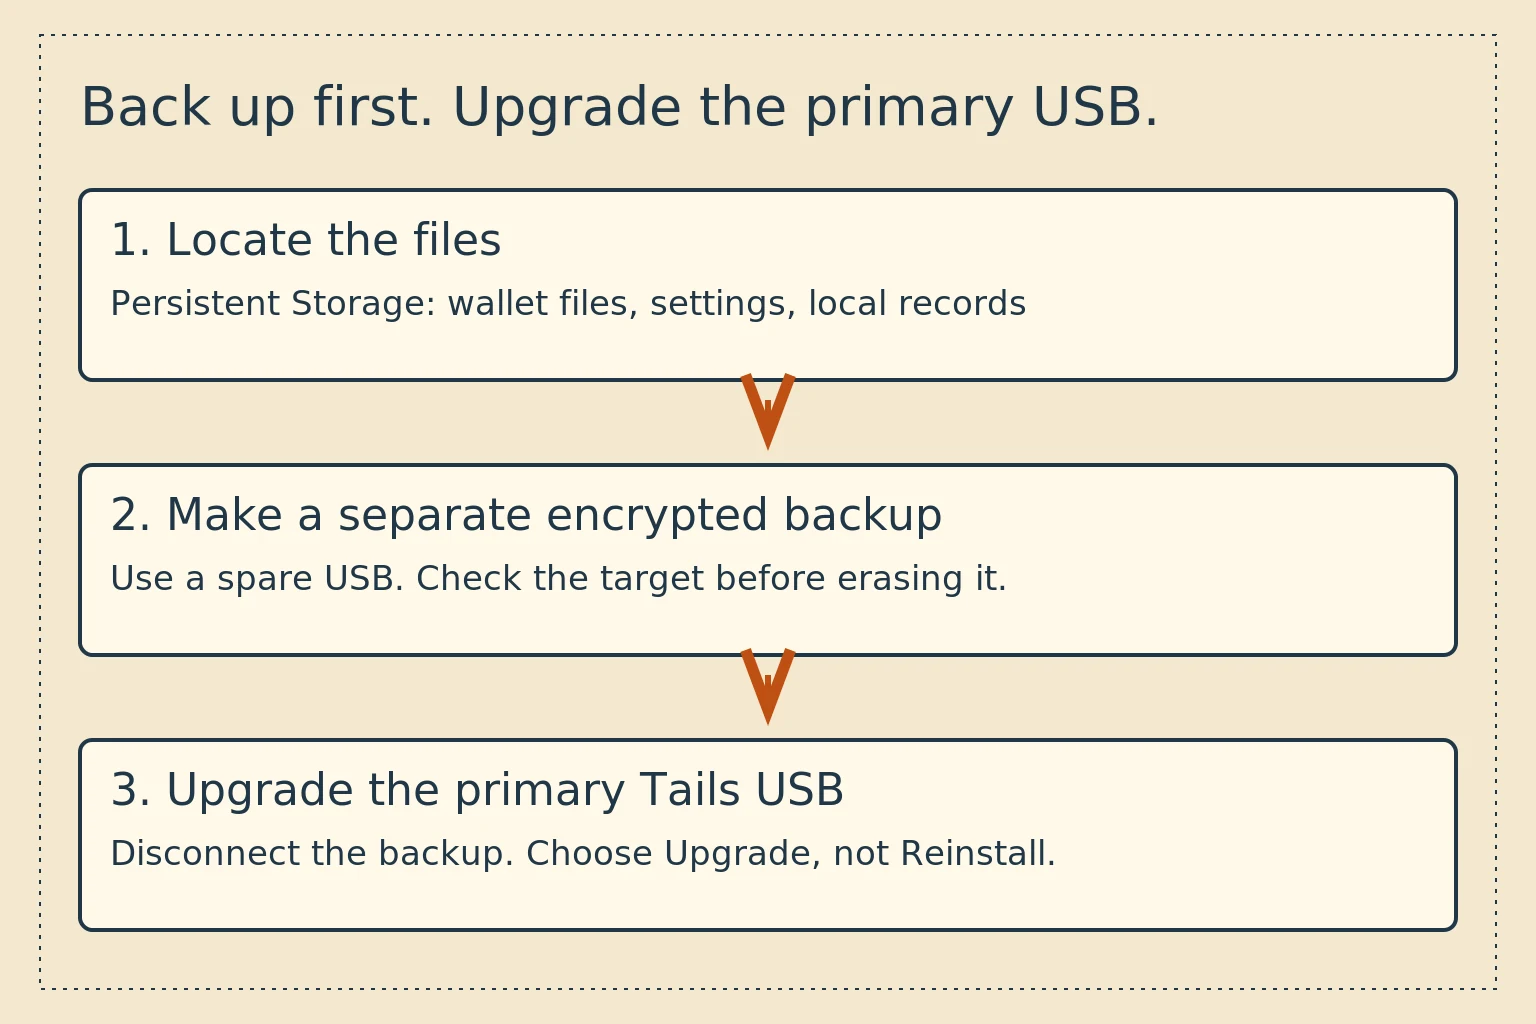
Tails' supported upgrade procedures preserve Persistent Storage. Installing a fresh Tails image onto the same USB stick erases it. Before clicking through an installer, establish which operation you are performing and make a separate backup of the files you need.
As checked on November 8, 2026, the current release is Tails 7.16, announced October 30. Its release notes offer automatic upgrades from Tails 7.0 or later, with manual upgrade instructions when that route is unavailable. Check the current Tails download page and 7.16 release notes again when you perform the upgrade.
We reviewed these instructions against Tails and Feather documentation. We have not performed a USB upgrade or wallet recovery test for this article.
Find the wallet data before changing the USB
Tails normally forgets files at shutdown unless they are stored through an enabled Persistent Storage feature. Seeing a wallet on the desktop does not establish that its files will remain after a reboot. Unlock Persistent Storage at the Welcome Screen, then identify the folder containing the wallet.
For Feather on Tails, the project's documented arrangement puts the AppImage in the Persistent folder. Feather stores its data, including wallet files, in an adjacent feather_data folder on Tails. Back up that folder as well as noting which application you use. Copying only the AppImage copies the program, not the wallet. Custom wallet locations need their own check. Feather on Tails and Feather data paths.
A recovery seed can restore control of supported wallet funds, but it is not a backup of every local record. Labels, notes, settings, and stored transaction information may require the wallet files. Keep recovery information offline and protect any wallet files you copy. Never paste a seed into a website, bug report, screenshot, or support conversation. The Monero recovery instructions describe the separate restoration process.
If you use Tails for offline signing, preserve that separation during maintenance. Do not bring the only copy of a spending wallet online just to check an upgrade prompt. Our offline-wallet guide explains the signing and network roles.
Make and check a separate backup
Close the wallet before backing up its files. Label the primary USB and backup USB so that you can distinguish them physically, even if the file browser gives them similar names.
Tails documents creating a second bootable Tails USB with a copy of Persistent Storage. Start the primary Tails, unlock its storage, insert the spare USB, and open Apps → Tails → Tails Cloner. Select the spare as the target and enable the option to clone the current Persistent Storage. The installation confirmation erases the spare target, so check the selected device before proceeding. Set the backup storage's passphrase as prompted. Official Persistent Storage backup procedure.
Afterward, shut down and test the backup USB. Check that you can unlock it and find the expected wallet files. For an offline wallet, make this check in an offline session. You do not need to broadcast a transaction or reveal a seed to verify that the files are there.
Keep the backup disconnected while upgrading the primary USB. A second folder on the same stick is not a separate backup against device failure or accidental reinstallation.
The Back Up Persistent Storage utility can refresh an existing backup later. Follow the official procedure rather than improvising a synchronization command. A command that mirrors deletions can remove useful files from the destination as well as copy new ones.
Check the version and use the automatic upgrade when offered
In Tails, open Apps → Tails → About Tails. Record the running version and use Check for Upgrades. Tails also checks when it starts and connects to Tor. The updater's offer determines whether that installation can take the automatic route.
After the backup check, connect to Tor, follow Tails Upgrader's prompts, and let it finish. Keep the computer powered and the USB connected. Restart into the updated USB when instructed, then check About Tails again. Downloading an upgrade is not the same as booting the new system. Tails upgrade instructions.
If no automatic upgrade is offered, do not turn to a generic image-writing tool and point it at your primary USB. Choose the official manual upgrade route for your starting environment.
Manual upgrade is different from reinstalling
The manual upgrade instructions from Tails use another Tails environment to upgrade the primary USB. Follow that page's download-verification and intermediary-USB steps. The intermediary is a separate device that may be erased during its preparation.
At the step that upgrades your primary USB with Tails Cloner, check the target device and select Upgrade. Do not select the option to clone the other system's Persistent Storage onto it. That option makes Upgrade unavailable and requires a reinstall that deletes the target's data.
The backup procedure and upgrade procedure use similar-looking controls for different jobs:
| Operation | Target | Effect on existing target data |
|---|---|---|
| Create a backup by installing a clone | A spare USB you have chosen to erase | Erases that target, then creates the backup |
| Upgrade the primary Tails using the supported upgrade path | Your existing Tails USB | Preserves its Persistent Storage |
| Reinstall Tails or write a fresh disk image | Whichever device you select | Erases the existing installation and Persistent Storage |
If a dialog says it will delete all data on your primary USB, stop. Resolve why you are on an installation path before continuing. A backup does not make selecting the wrong device harmless.
Check the wallet after restarting
Unlock Persistent Storage at the updated Tails Welcome Screen. Confirm that the expected files are present, then open the intended wallet application. Check that it opens the correct wallet and displays the address you expect.
If a wallet appears empty, first check whether Persistent Storage was unlocked, whether you opened the right wallet file, and whether synchronization has finished. A wrong path or an incomplete scan can look like missing funds. Do not overwrite the old wallet or create replacement files in its folder while investigating.
Keep the backup until you have checked the updated system and wallet. Where appropriate, make a new backup afterward without immediately destroying the known-working one.
Tails updates do not replace Feather's AppImage
Tails' Feather instructions state that the Feather AppImage does not update automatically. Updating the operating system does not establish that this separately downloaded wallet is current.
Download the current Tails-compatible Feather AppImage from the official Feather download page. Verify its signature using the project's instructions and keep its data location consistent. Check the version of the copy you launch. A second download can leave an older shortcut or file in use.
For wallets in virtual machines, the Whonix update guide covers system packages and separate wallet installations.
If Tails no longer starts
Do not format the USB, delete Persistent Storage, or repeatedly reinstall onto it. Keep the backup and original device separate. Tails provides a recovery procedure for a system that no longer boots, beginning with a manual upgrade and then, when necessary, copying data from another Tails environment or recovering from an image.
A USB that boots but cannot unlock Persistent Storage is a different case. Follow the linked storage-error instructions rather than assuming that a forgotten passphrase and filesystem damage are the same problem. Recovery can fail. Make and check a backup before upgrading.
When asking for help, report the Tails version, which upgrade method you used, and the exact nonsensitive error. Keep wallet files, recovery words, keys, and screenshots containing them out of the report.