Monero / Mining / P2Pool
Getting Started with P2Pool: How to Mine Monero
Learn how to mine Monero with P2Pool and XMRig on Linux, using your own node or Monero Love's remote node. Check shares and understand mining payouts.
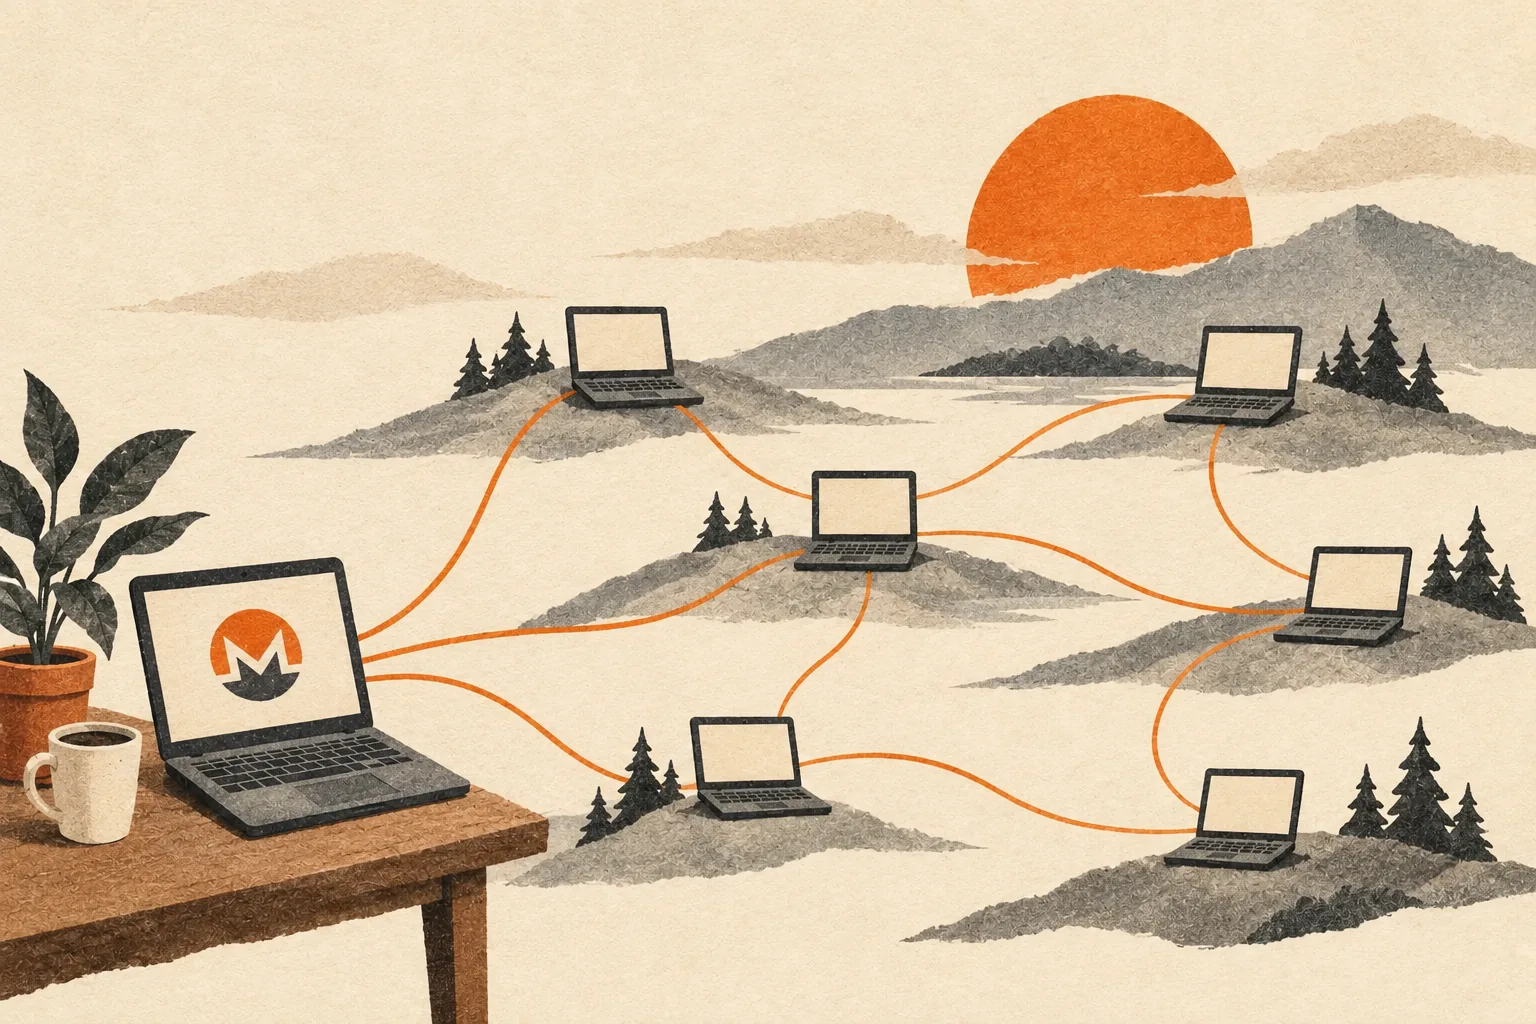
Getting started with P2Pool means running three programs: a Monero node, P2Pool and a miner. The manual steps below use Linux and XMRig. You can run everything on one computer or use our remote-node example to avoid downloading the blockchain locally. You will need a Monero wallet and time for P2Pool to synchronize.
P2Pool combines shared mining rewards with independent block creation. Running your own Monero node gives you control over validation instead of relying on a pool operator's node. P2Pool charges no pool fees and never holds your rewards. The Monero mining guide explains why this supports decentralization.
Understand the three programs
The Monero node checks the blockchain and supplies data for new mining jobs. P2Pool coordinates with other miners through a separate sidechain that records shares of mining work. XMRig uses your CPU to search for valid results. Each program has its own logs, so a running miner does not tell you whether the node has synchronized or the pool has connected to peers.
Gupax: a graphical alternative
Gupax brings P2Pool and XMRig together in a graphical application for Windows, Linux and macOS. Its bundled edition saves you from installing and launching the mining programs separately. Enter your mining address, choose a local or remote Monero node, and start the services through the interface. Gupax can also run a local node, which still needs to synchronize. It offers an alternative to the terminal setup below while using the same mining and payout process.
Prepare your wallet and software
Create a separate wallet for mining and back up its recovery seed offline. P2Pool addresses are public. This walkthrough uses the wallet's primary address, beginning with 4, for the payout destination. Copy that address, never the seed or private keys, into the command below.
For the local-node route, download current stable releases of Monero CLI, P2Pool and XMRig for your processor. Follow each project's download-verification instructions before extracting the archives. The Monero CLI package includes monerod, the node program. If you choose the remote-node route, you only need P2Pool and XMRig for mining, plus your wallet.
For Monero, verification involves checking the signature on the published hash list, then comparing the archive against that authenticated list. A matching checksum from an untrusted download page is insufficient. Follow the official verification guide rather than copying a command from a download advertisement.
Choose a 64-bit build that matches your CPU architecture. Use a stable internet connection. If you run a local node, leave room for the blockchain to grow. An SSD helps with its initial sync. Mining also needs spare memory, so close demanding applications during setup and check for allocation errors before leaving the machine unattended.
XMRig's RandomX optimization guide lists about 2 GB for the dataset per NUMA node, usually one CPU socket, plus cache. That is only part of the machine's memory budget. The operating system, Monero node and pool process also need RAM. CPU cache affects useful thread counts, so using every available thread can be counterproductive.
Keep each program in its own folder. Open a terminal for each program you will run and use cd to enter its extracted directory. The ./ prefix in these examples runs a program from that directory. Use a normal user account.
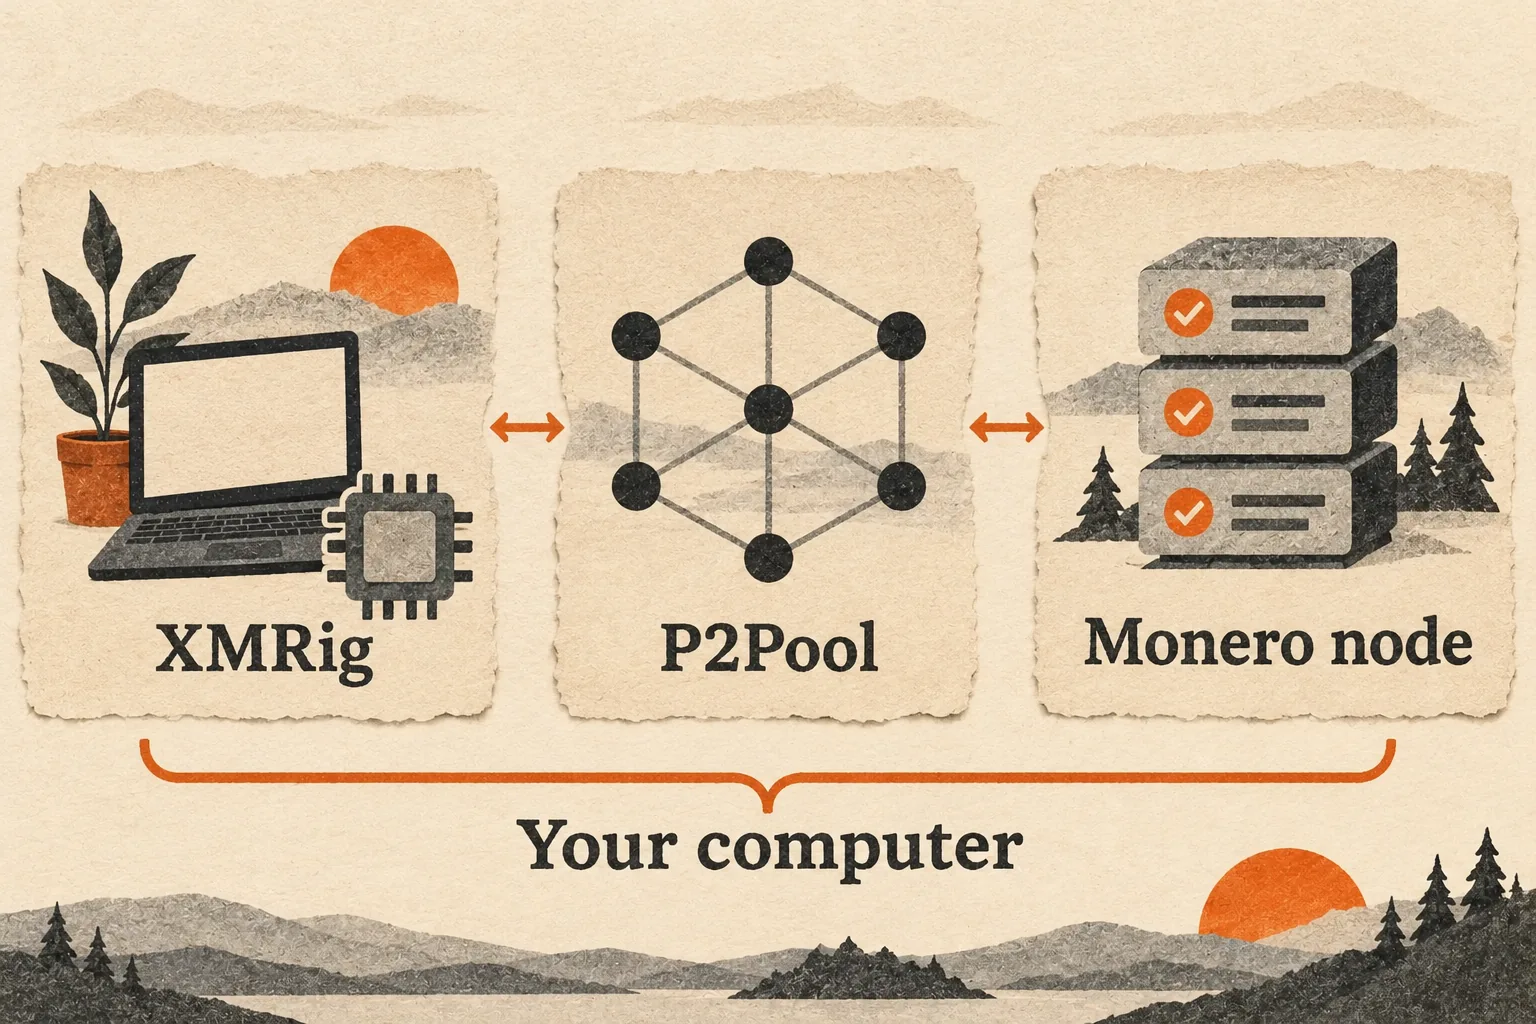
The local-node setup. With the remote-node option, only P2Pool and XMRig run on your mining computer.
Start and synchronize your Monero node
In the Monero terminal, run:
./monerod --zmq-pub tcp://127.0.0.1:18083 \
  --out-peers 8 --in-peers 16 \
  --enforce-dns-checkpointing --enable-dns-blocklist
The node sends block notifications over its local ZMQ connection, with limits on incoming and outgoing peers. The flags follow the upstream Linux setup, using its lower-bandwidth peer settings.
Wait until the node reports that synchronization is complete. Type status in its console to check progress. Keep this terminal open while mining. If storage is tight, read about blockchain pruning before starting the download. A pruned node can still validate the chain.
Do not treat a slow initial download as a mining failure. Check whether the reported height continues to advance and whether peers remain connected. If progress stops, inspect disk space and node errors before restarting. Avoid launching a second node against the same blockchain directory.
Connect P2Pool to your node
In the P2Pool terminal, replace YOUR_PRIMARY_XMR_ADDRESS with the address you copied:
./p2pool --host 127.0.0.1 \
  --wallet YOUR_PRIMARY_XMR_ADDRESS \
  --mini --stratum 127.0.0.1:3333
Here, 127.0.0.1 means this computer. The --stratum setting keeps the miner connection local. Leave RPC and notification ports private rather than opening them to the internet.
This example selects Mini. Main, Mini and Nano are separate P2Pool sidechains. To select Nano, replace --mini with --nano. Omit both for Main. Never combine them. The P2Pool command reference documents these options.
Wait for P2Pool to synchronize before starting XMRig. Our Monero pool hashrate page shows current estimates for all three sidechains, but a larger hashrate does not guarantee a faster personal payout.
Compare the chance of finding your own sidechain shares with how often that sidechain finds Monero blocks. Easier shares alone do not guarantee more frequent rewards. Mini follows the upstream beginner example here. Before switching, look at current difficulty and block history, and allow enough observation time to distinguish a configuration fault from mining luck.
Use node1-eu instead of running a local node
You can skip the local blockchain download by connecting your own P2Pool instance to Monero Love's European node. Use node1-eu.monero.love with RPC port 18089 and ZMQ notification port 18083. We verified both endpoints on November 5, 2026. Check the nodes page for current wallet RPC health.
For this route, skip the monerod step and replace the local P2Pool command above with:
./p2pool --host node1-eu.monero.love \
  --rpc-port 18089 --zmq-port 18083 \
  --wallet YOUR_PRIMARY_XMR_ADDRESS \
  --mini --stratum 127.0.0.1:3333
Replace the address placeholder with your own primary wallet address. P2Pool still runs on your computer and sets your payout destination. Once it has synchronized, start XMRig with the same 127.0.0.1:3333 command below. The remote Monero node supplies blockchain data and notifications, while your local pool handles mining jobs and shares.
This saves the disk space and synchronization time needed for your own Monero node. It also makes mining dependent on the remote node's availability and responses. These public RPC and ZMQ connections are unencrypted, and the node operator can see your connection address. Running your own node lets you validate the chain independently. The P2Pool command reference documents the separate RPC and ZMQ settings.
Start XMRig and check its output
In the XMRig terminal, run:
./xmrig -o 127.0.0.1:3333
XMRig should connect, receive jobs and report a hashrate. If it reports connection refused, confirm the pool process is still running and listening on port 3333. Correct a wrong wallet address in the pool command before you continue. Compare the full address shown at startup with your wallet. XMRig's accepted results show that P2Pool is receiving work. The payout address belongs in P2Pool's configuration, not this XMRig command.
Watch CPU temperature and power use during the first session. If the computer becomes sluggish, reduce the thread count with XMRig's documented -t option. Once mining works, follow the huge-pages guidance to improve memory performance. P2Pool's zero pool fee is separate from XMRig's default 1% developer donation.
Huge pages reserve memory for efficient access. They do not create more RAM. Check available memory before changing system settings, and avoid copying a reservation sized for someone else's machine. Record hashrate, temperature and power consumption before and after a change. A small speed increase may not justify extra heat or electricity.
Know what counts toward a payout
An accepted XMRig result is not necessarily a P2Pool sidechain share. Payouts require qualifying shares in the active payout window when your sidechain finds a Monero block. A share can leave that window without receiving a payout. The upstream payout explanation describes this distinction.
An empty wallet after a short session does not establish that the setup is broken. First confirm submitted work, then look for qualifying sidechain shares and relevant Monero blocks. Check that your wallet has synchronized before comparing its balance with reported payouts. Avoid judging expected earnings from a few lucky or unlucky hours.
Troubleshoot and restart in order
Use our P2Pool monitoring guide to check peer connections, sidechain shares and fresh observations. For a connection failure, check the node's synchronization, P2Pool's logs and the miner's destination before changing performance settings. If XMRig cannot allocate memory, address that error before chasing pool connectivity. If jobs arrive but submissions fail repeatedly, inspect the exact rejection messages instead of assuming every failure has the same cause.
To finish your session, stop XMRig with Ctrl+C, then stop P2Pool and your node cleanly. Save the working commands in a local text file. After a reboot, start the node first, wait for synchronization, start the pool, and then start the miner. With a remote node, confirm its availability before starting your local pool and miner. These terminal commands do not configure automatic startup.